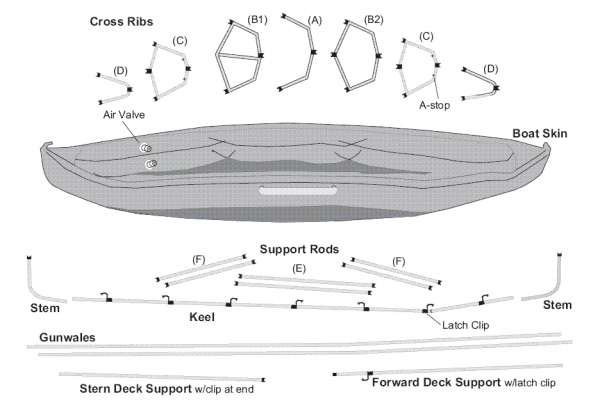
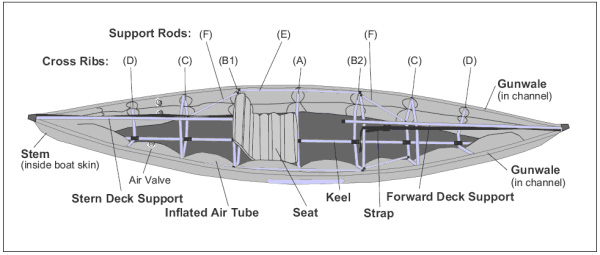
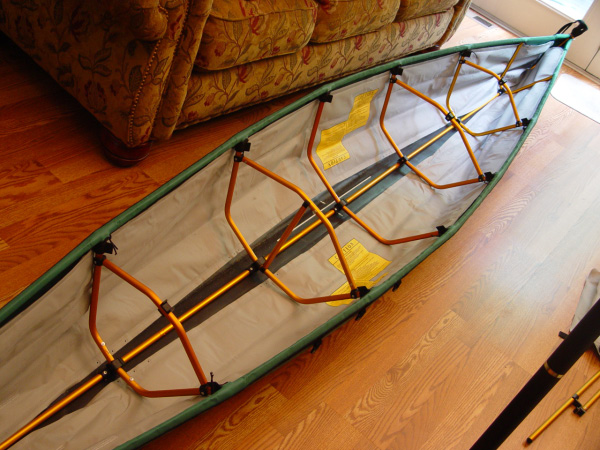
Refer to these diagrams to see which A/B/C part goes where:
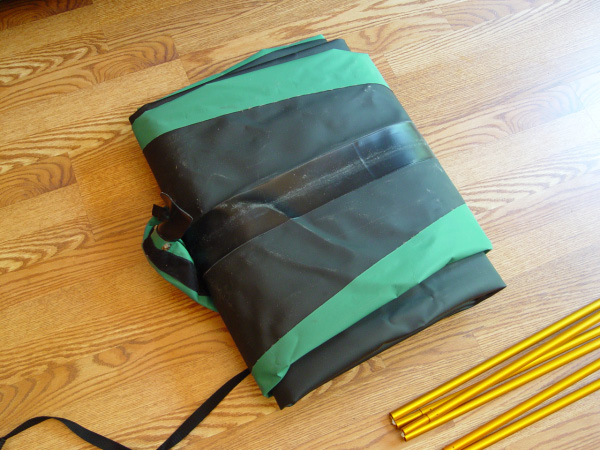
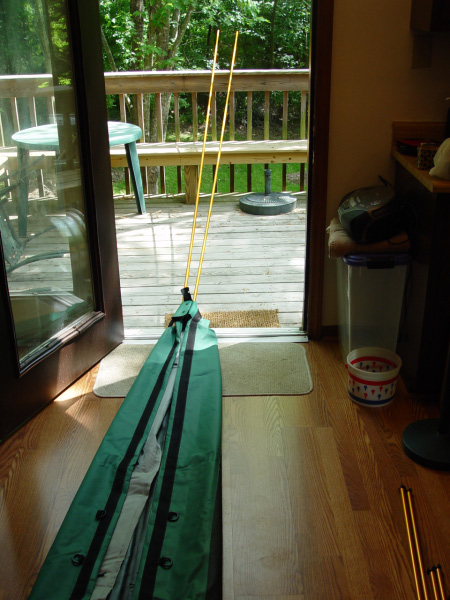
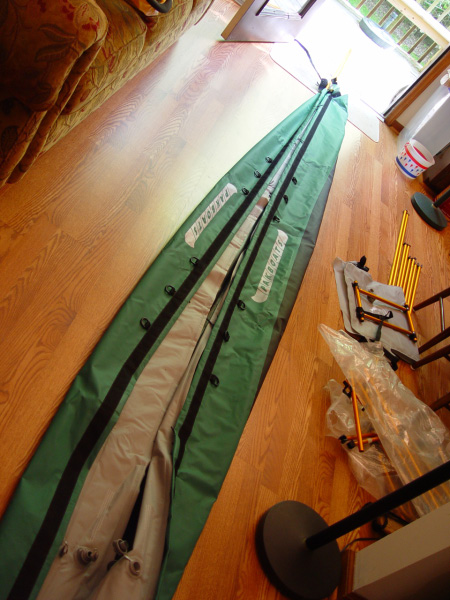
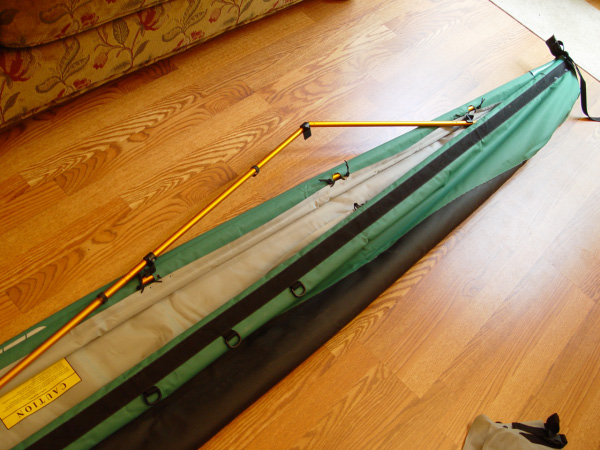
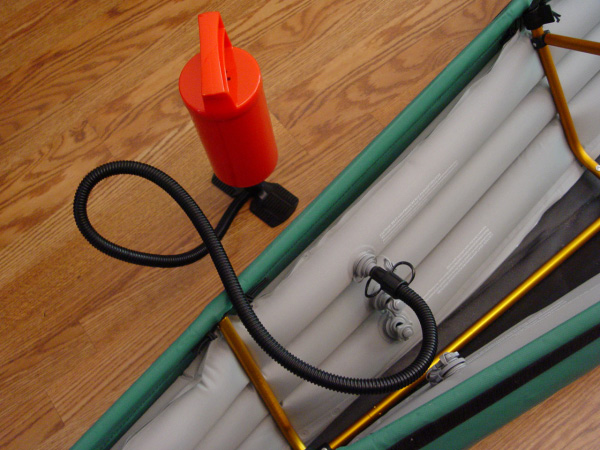
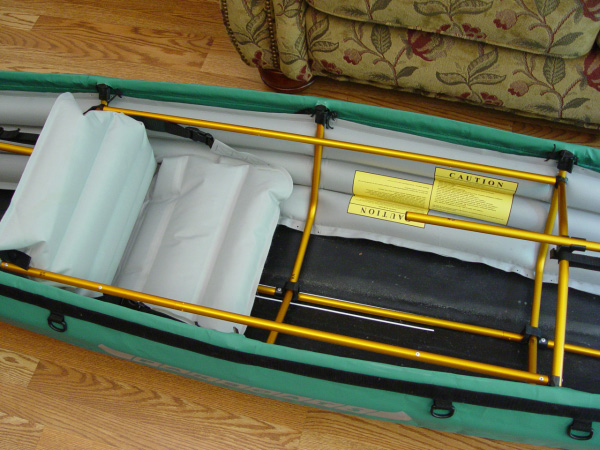
Roll out the boat skin, and unpack all other pieces.
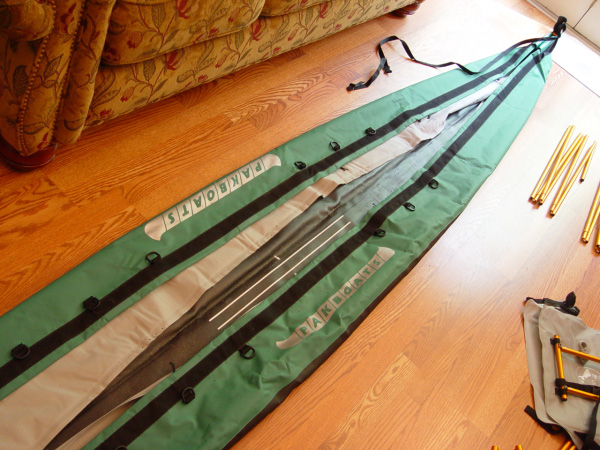
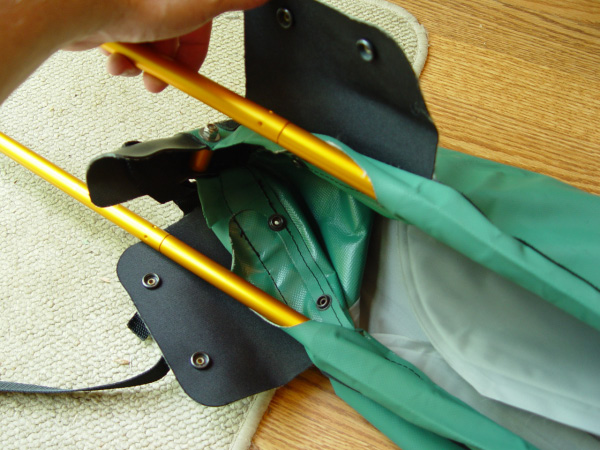
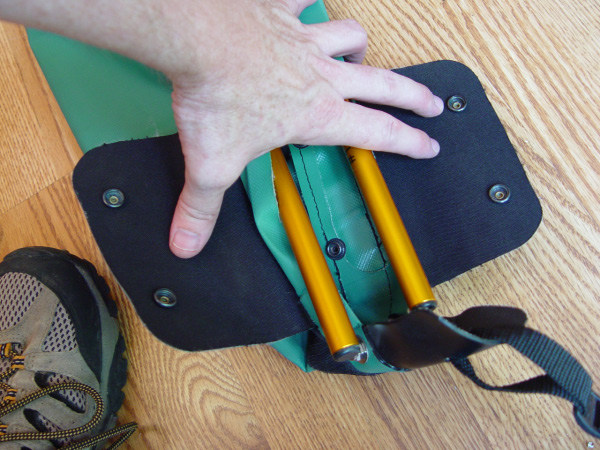
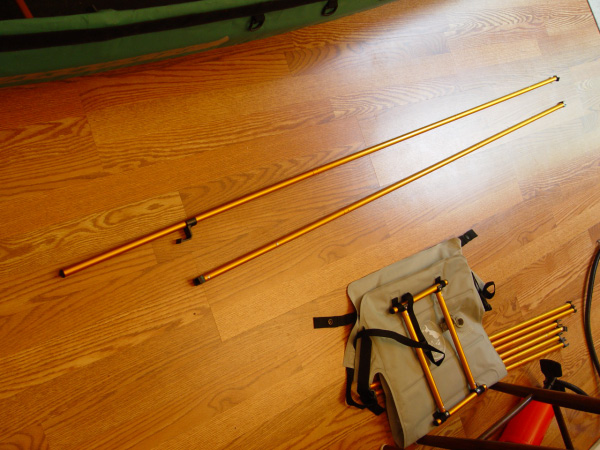
The 2 longest rods are gunwales (they run along the top left & right edge of the boat's deck). Find the 'flaps' at one end of the skin, un-snap them, and insert the gunwales into these slots, and snap them closed. The boat is 14-ft, and the rods are another 14-ft, so you will need quite a long space to do this step - plan ahead! :)

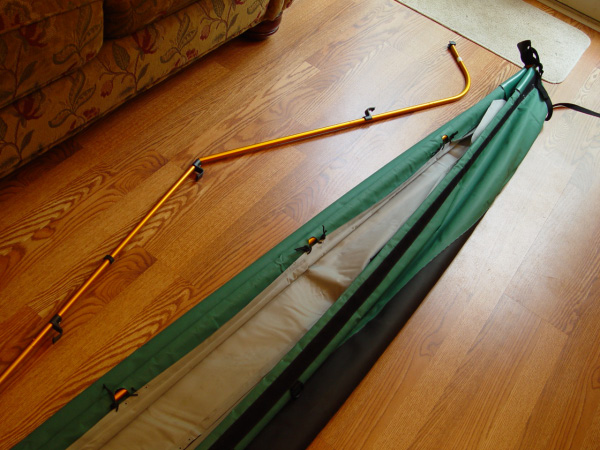
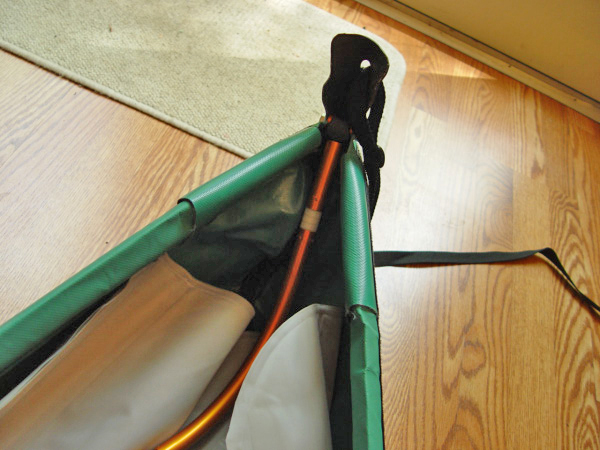
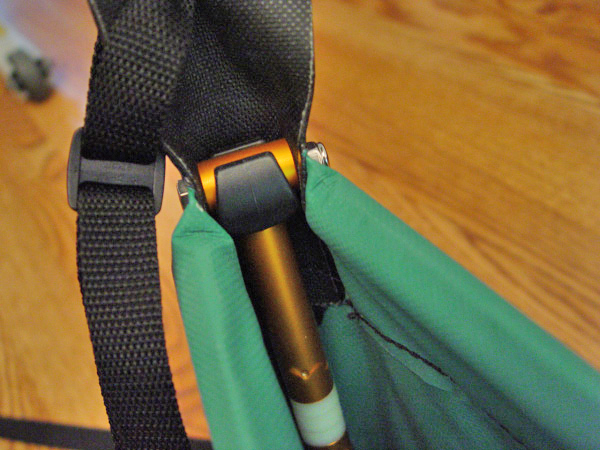
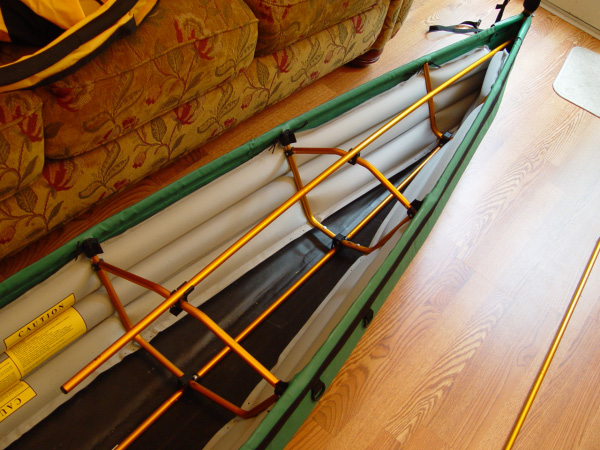
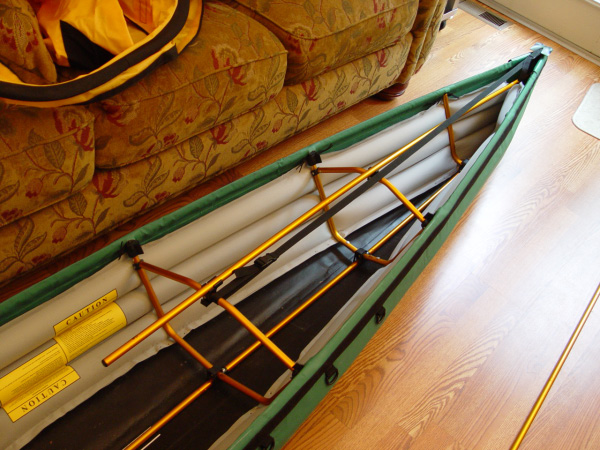
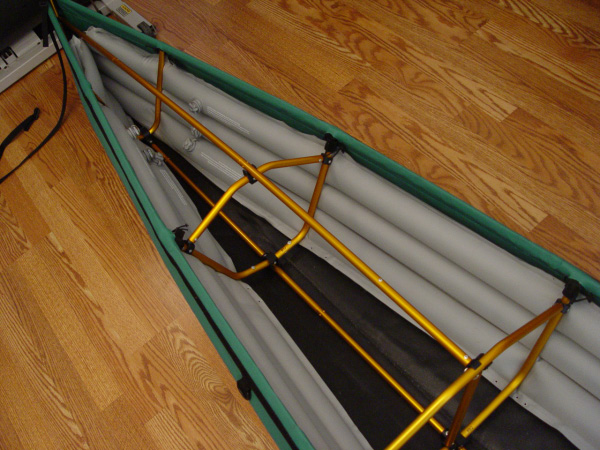
The longest remaining rod is the 'keel' (this runs along the bottom/middle of the boat). Attach the 'stems' to the ends of the keel, and position the keel inside the boat, clipping the stems into place at both ends of the boat. Note that one special joint the keel allows it to come apart easily - use this to your advantage for now (you'll straighten it later).


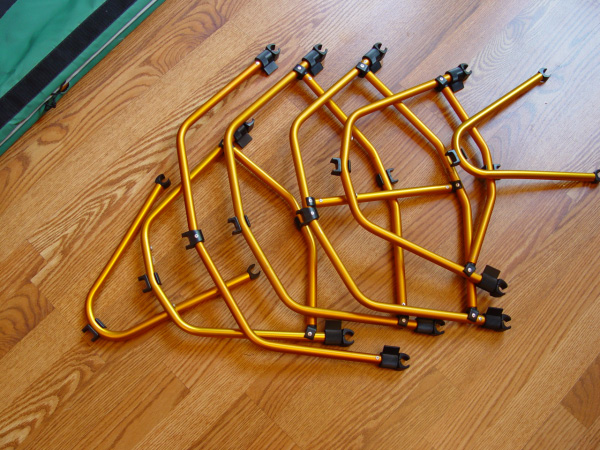
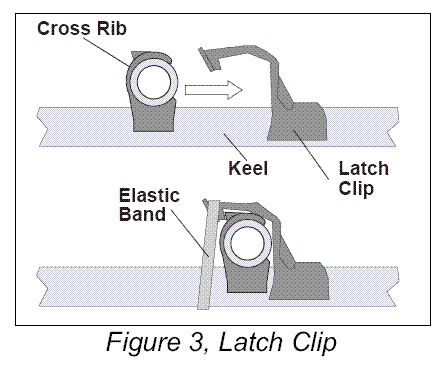
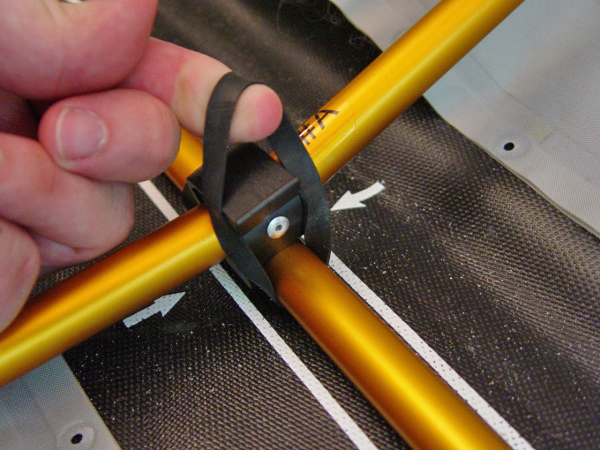
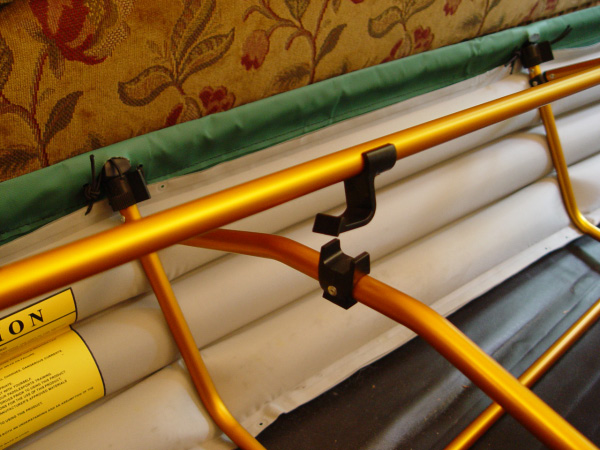
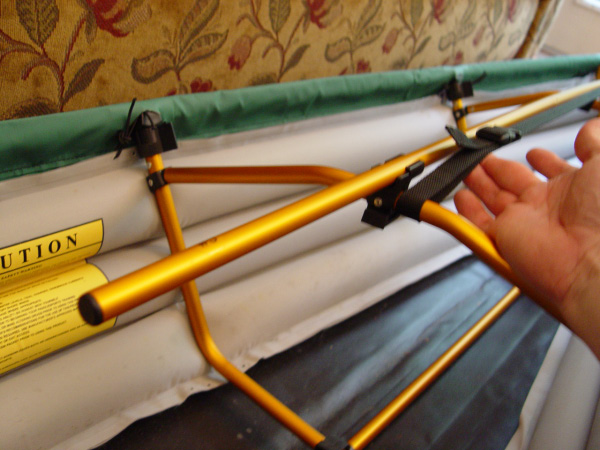
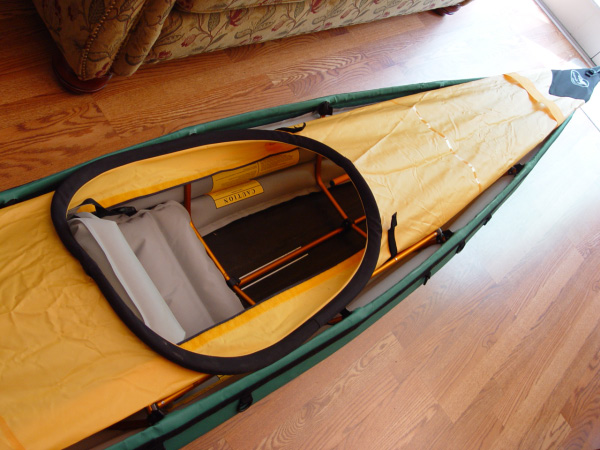
Next come the cross-ribs. Rib 'A' goes in the middle, and ribs B/C/D get progressively smaller towards the ends of the boat. The boat skin is symmetrical, so choose now which end you want to be the front/back. The 'B1' piece (with the extra cross-member) will be the backrest for your seat. Make sure to put the rib in the right direction, so the plastic clips at the bottom line up like the black-n-white diagram, and attach the rubber band over this clip. Once you clip the ribs at the top, push the 'wing' to lock it into place.
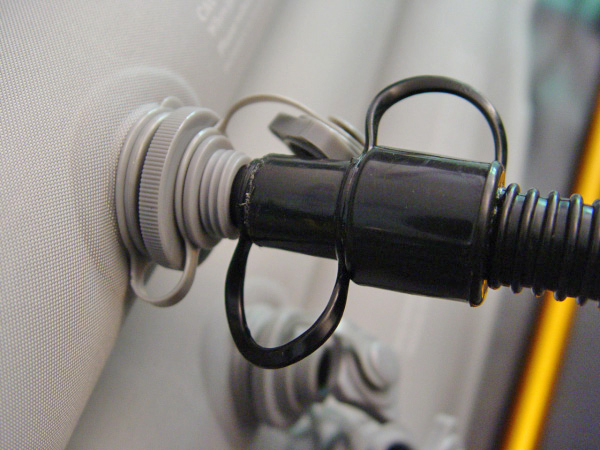
Now it's time to inflate the air tubes. Screw the connectors into the large holes (they were removed to let the air out). First, inflate the top tubes a little, to give the boat some shape. Now, inflate the bottom tubes alternately until they feel 'hard' (about as much as you can easily do with the pump provided). Next, inflate the upper tubes until they are also hard. Add/remove air from the left/right sides until the keel rod (along middle/bottom) is between the 2 white lines painted along the bottom of the cockpit/seating area. This pump inflates as you pull it out, and as you push it in. The inflator holes are 1-way valves, so you don't have to worry about air getting out (you have to unscrew the large part to let air out).
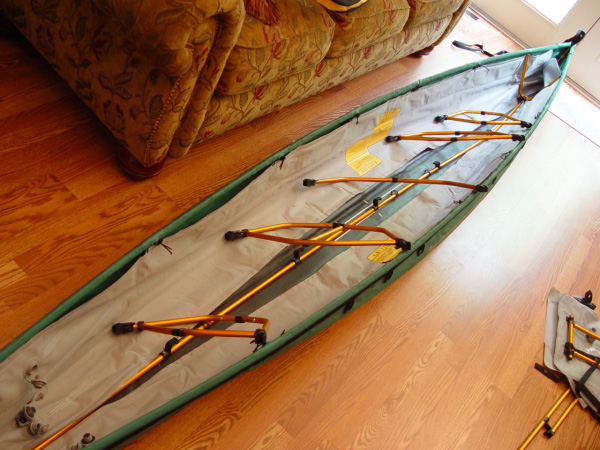
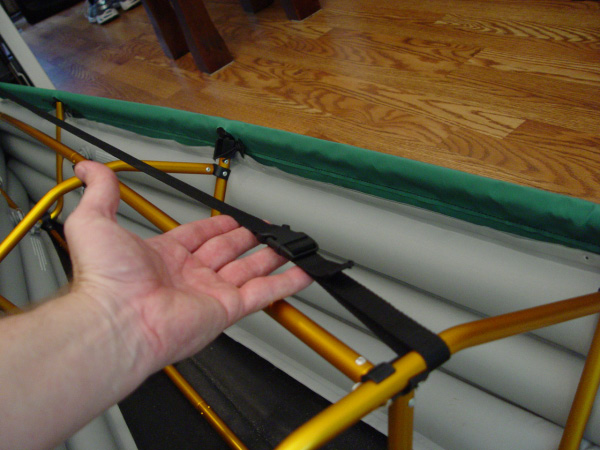
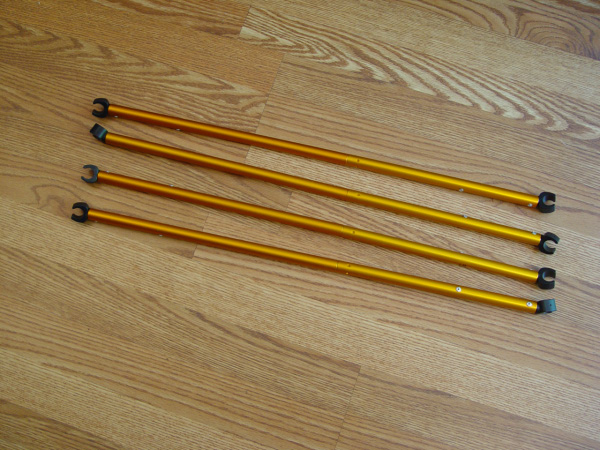
Now we'll complete the deck... The longest remaining rod is the front deck support, and runs along the middle of the front deck, from the end of the boat, back towards the cockpit. Find the strap that's connected to the front end of the skin, and loop it around the 'B' rib, clipping the strap back to itself.
Similarly, the next-longest remaining pole is the stern (back) deck support. Install it, and connect the strap.
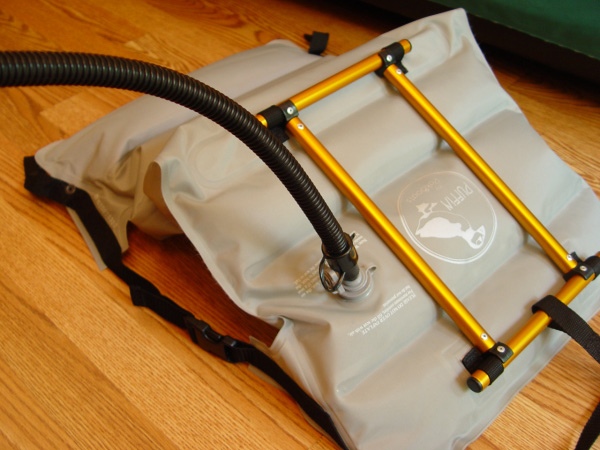
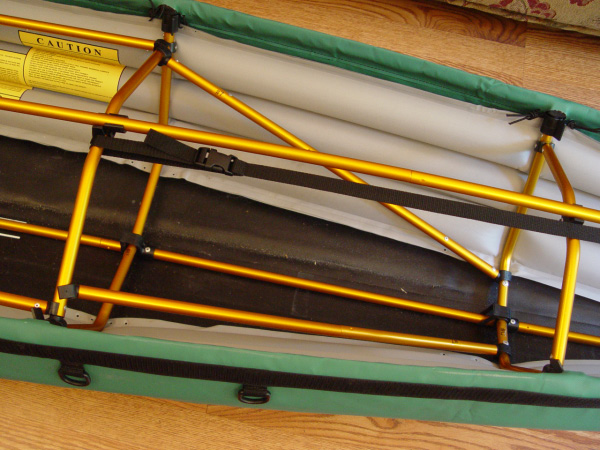
Inflate the seat about 2/3 full - make sure to push on it a little, so the air equalizes between the bottom & back sections. The part with the metal frame is the bottom, and the other part is the backrest. Snap the 2 short straps to the rib behind them. Lift up the seat bottom (from the front), so you can see under it, and attach the strap to the rib behind the stat (this strap keeps the seat from sliding forward).

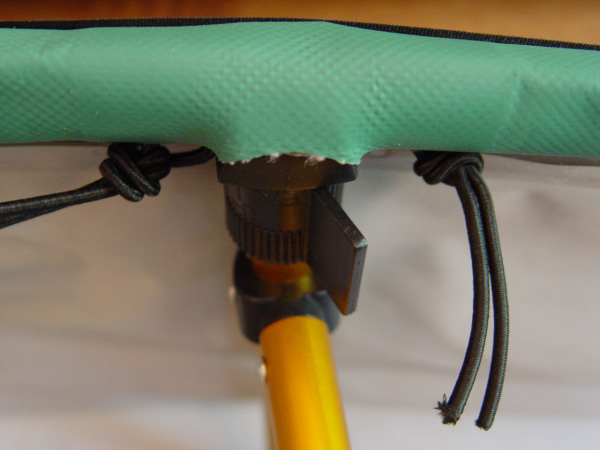
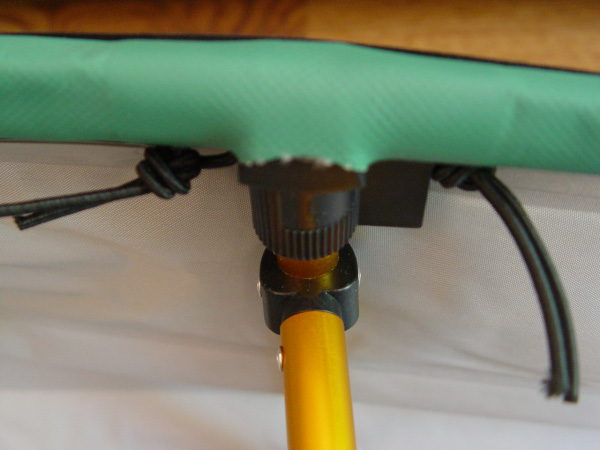
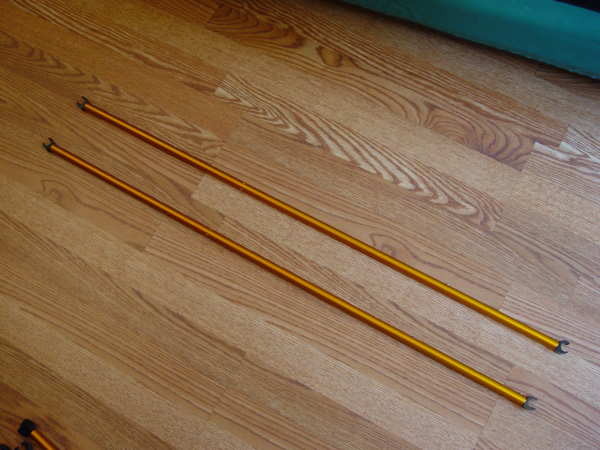
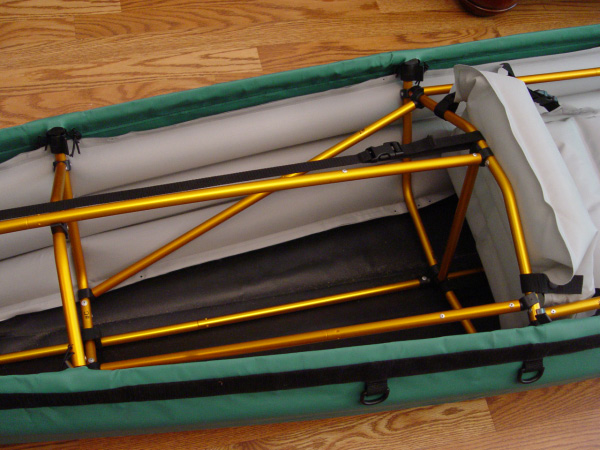
The 2 longest rods remaining (E) are the support rods that go along the left and right of the cockpit. These support the deck, and are also somewhat of an "arm rest". These clip between the B1 and B2 ribs, and clip them as close to the gunwales (sides) as you can.
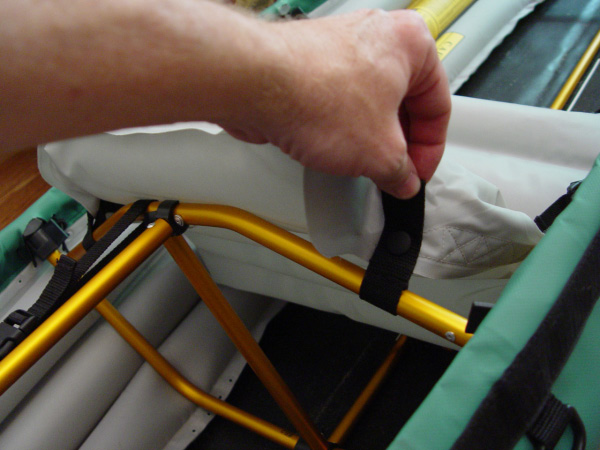
The 4 remaining short rods (F) are for cross-bracing, between the B & C ribs. They go in at angles, therefore look closely at the angles of the plastic clips, and position them accordingly. Note that when you clip the support to the C rib, connect it on the 'outside' of the rivet/stop. Look at the black-n-white diagram (way up above), and the pictures below.
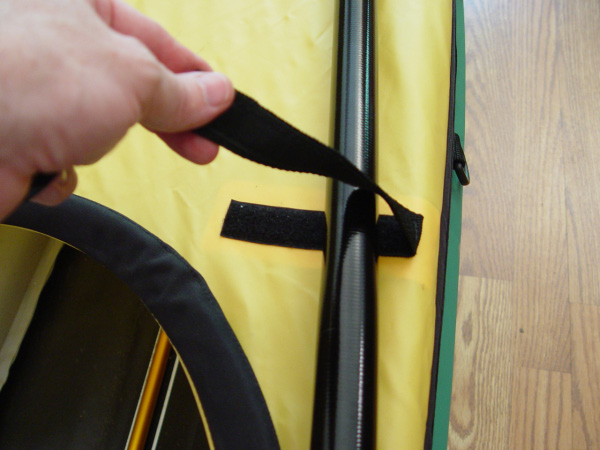
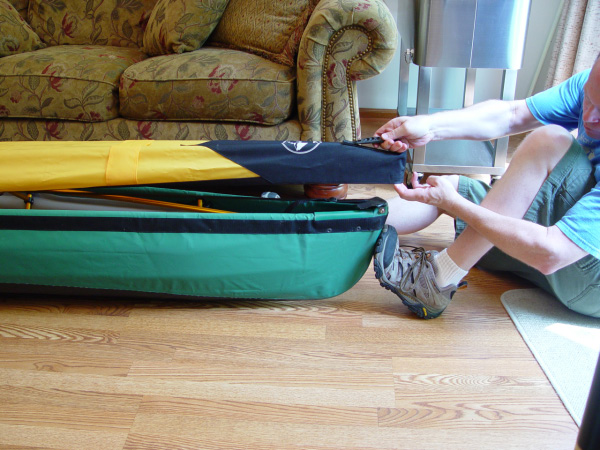
The last piece is the deck cover. Note that the 'front' of the deck is longer than the 'back' of the deck. Hook the short end of the deck over the stern (back), and then stretch the front over the front end of the boat. The deck is designed for a good/tight fit, so it will take a strong pull to do this - I suggest you sit down, and brace your foot against the front of the boat (below the velcro), as shown in the picture below. Once the front & back ends are in place, then fasten the velcro along the sides - try to get the velcro in the desired location the *first* time, because it is very serious velcro, and difficult to un-do and re-do! Also, I recommend you not run your fingers between the 2 velcro pieces to disconnect them ... the velcro can be very rough on your skin!

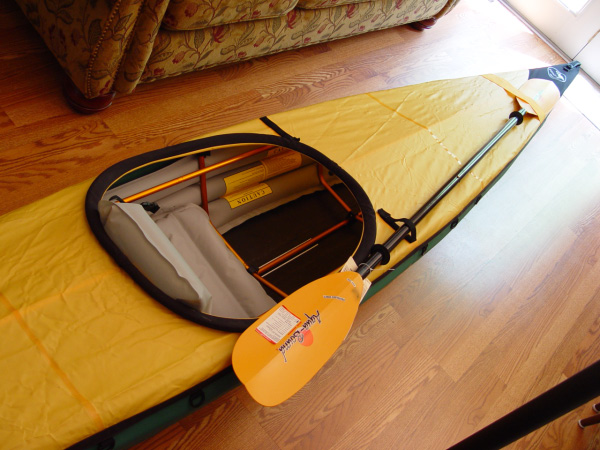
The little strap on the top of the deck is to fasten your paddle. Yay! - You're done!